P&K KFA (VDI 3781 part 4)
Getting Started
Background Map and Coordinate System
I open the "Add Background Image" dialog  " (under Inputs)
For calculations not within "EPSG:32632 WGS 84 / UTM zone 32N" it might be better to start with the import of buildings, because GML files might include other projections.
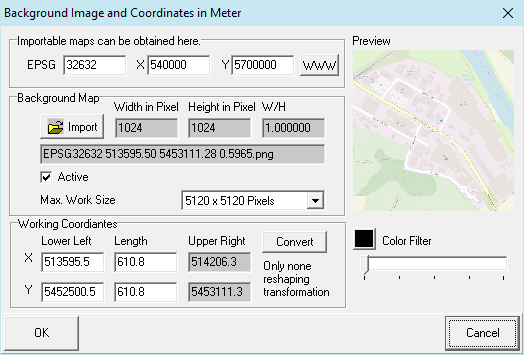
I use the link shown above in this dialog to get a background map and import it here. I may reduce the contrast using the filter. With OK I get to the 2D view.
At least the coordinate system must be defined here.
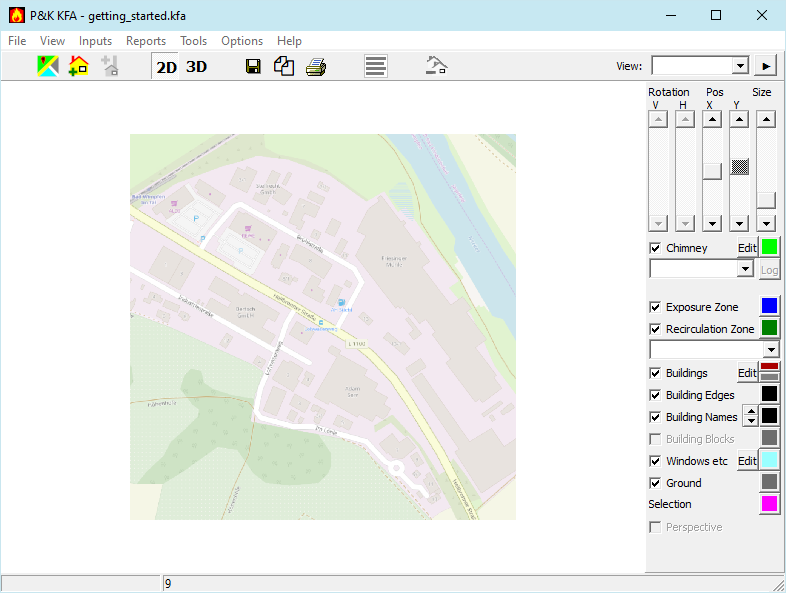
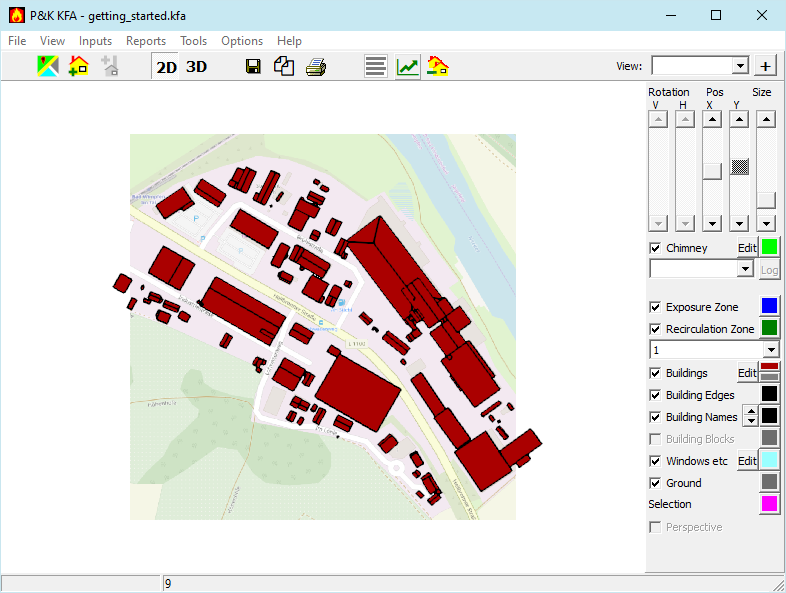
Buildings Import
If I don't get or have no buildings in LoD2 format, I can enter the buildings via the graphic as described below or directly into the table form "Buildings".
I get a Lod2 file ie.g.: for: Hamburg
I open the Dialog “CtyGML Import” (under Inputs).
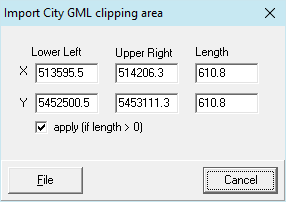
The coordinates of the section are already pre-assigned because they were defined during the map import. The mark “Apply….” I leave it as it is, otherwise there will be no filtering and possibly a huge number of buildings will be imported. File takes you to the file selection. After confirming the file selection, the buildings are imported and shown in the 2D view.
With “Delete buildings”  ” I can reduce the number of buildings to a rectangular selection.
When importing buildings, it is essential to check the quality of the data!
With "Add building"  ” I open a dialog in which I give the building a name and enter other data and click 3 points starting with the gable side.
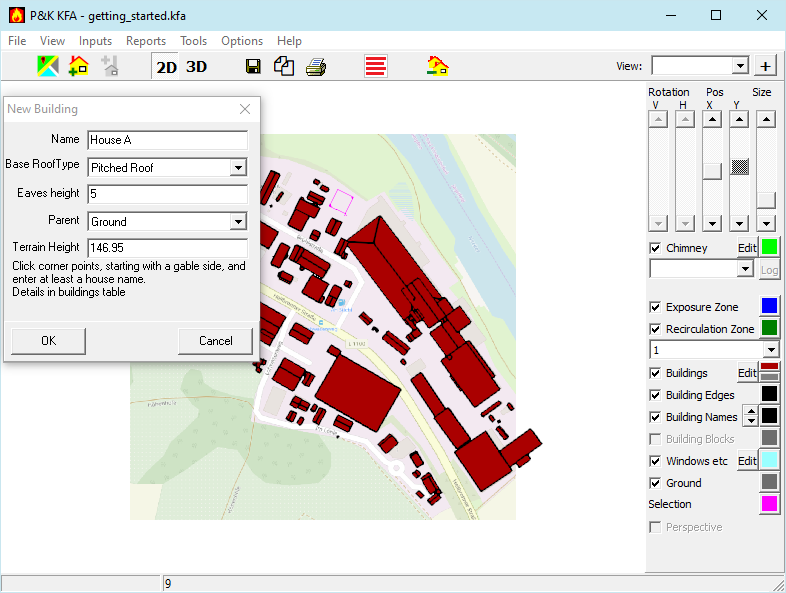
The building is accepted with OK and is then available in the “Building” form. It can be further edited there or selected by clicking and resize and rotated.
I also can of course enter the building data directly into the table form "Buildings".
Air Inlet Openings
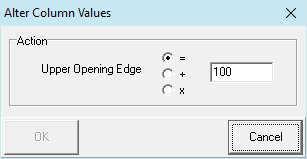
For a simplified and pessimistic view, I set the "Upper opening edge" in the "Building" form to a high value, then I can save myself the input of windows, doors, etc. in the table form "Chimneys etc". With the right mouse button over the column you can call up "Modify Column Values" and e.g. set all values of the column to 100.
Add Chimney
You can now place a chimney on a selected building by clicking on “Add discharge device / add chimney  ”. To do this, I enter the relevant data in the dialog and click in the colored rectangle.
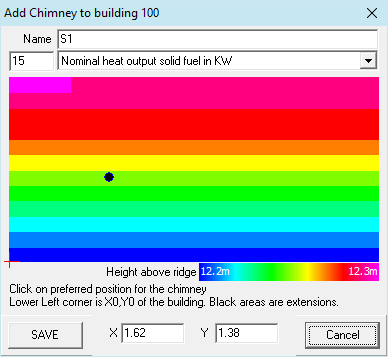
The colors show the required chimney heights, which were determined on the basis of the data known at this time (building, ventilation openings, etc.). The data of the chimney are now also in the form "Chimney".
Of curse I also can enter chimneys directly in the table form "Chimneys".
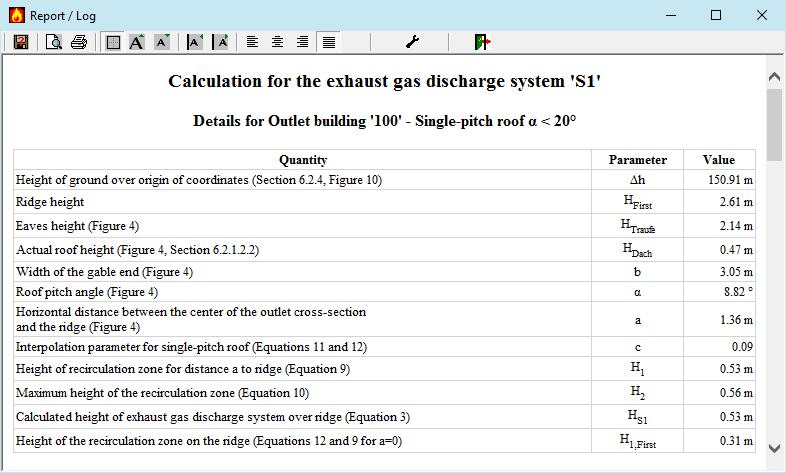
Results
Via Report/Log I can look at the results with intermediate values and use them for my documentation.